使用gitlab-runner和Firebase App Distribution達成CI/CD 工作流程
Ex. iOS project
CI/CD工作流程簡述
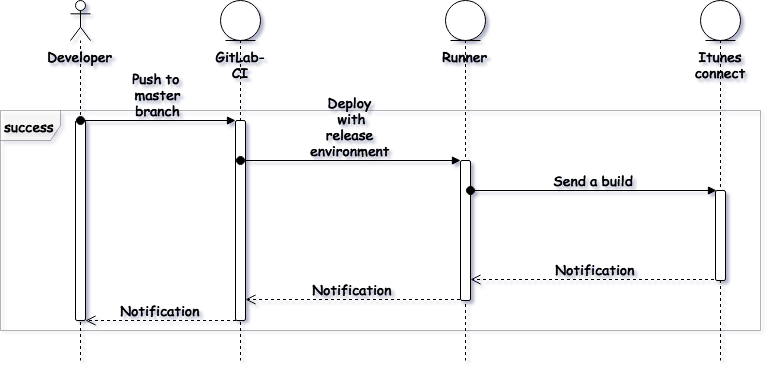
觸發時機:將「commit提交」或使用「merge request合併」至GitLab指定分支
工作流程:(先設定好.gitlab-ci.yml檔案,並於Runner上安裝Firebase CLI)
-
gitlab-runner會自動clone code至本地端
-
判斷分支執行不同的
Pipeline -
Pipeline是由Jobs和Stages組成,Runner會依照.gitlab-ci.yml內的設定自動產生對應的PipelineStages:設定Pipeline有幾個階段要執行Jobs:設定屬於哪個stage、哪個分支需要執行和執行的scripts -
透過
Jobs內的scripts執行xcodebuild生成ipa -
透過
Jobs內的scripts執行Firebase指令上傳ipa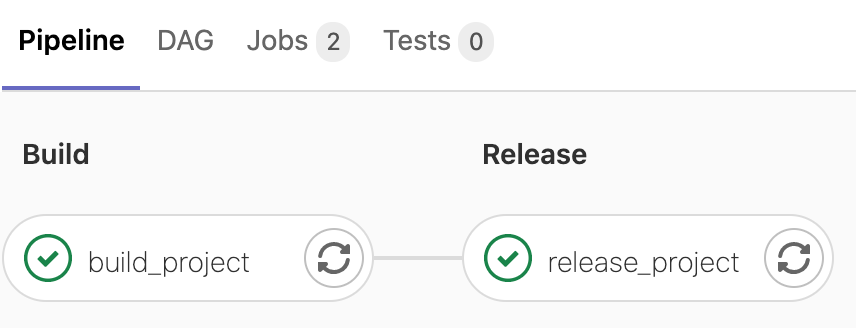
Install gitlab-runner
參考連結
(安裝Runner於MacOS,其他系統可參考上方連結)
-
安裝GitLab Runner
brew install gitlab-runner -
啟動Runner服務
brew services start gitlab-runner -
註冊Runner
gitlab-runner register需要輸入以下資訊:
輸入GitLab server ip
https://gitlab.com/
輸入Token
Token可以從「gitlab > Settings > CI/CD > Runners > Expand > Set up a specific Runner manually > Point 3.」取得
輸入描述,之後在GitLab網站上作設定
輸入標籤(tag),可以用來決定之後的job要在哪個Runner上執行,也可以稍後再設定
輸入「release」
設定executor,可以使用Docker作為模擬編譯環境
輸入「Shell」
-
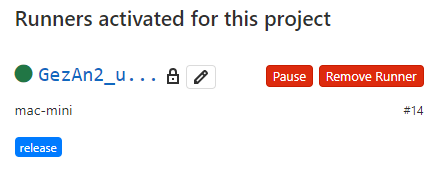
確認Runner是否正常運作
在「gitlab > Settings > CI/CD > Runners > Expand」可查看Runner狀態
-
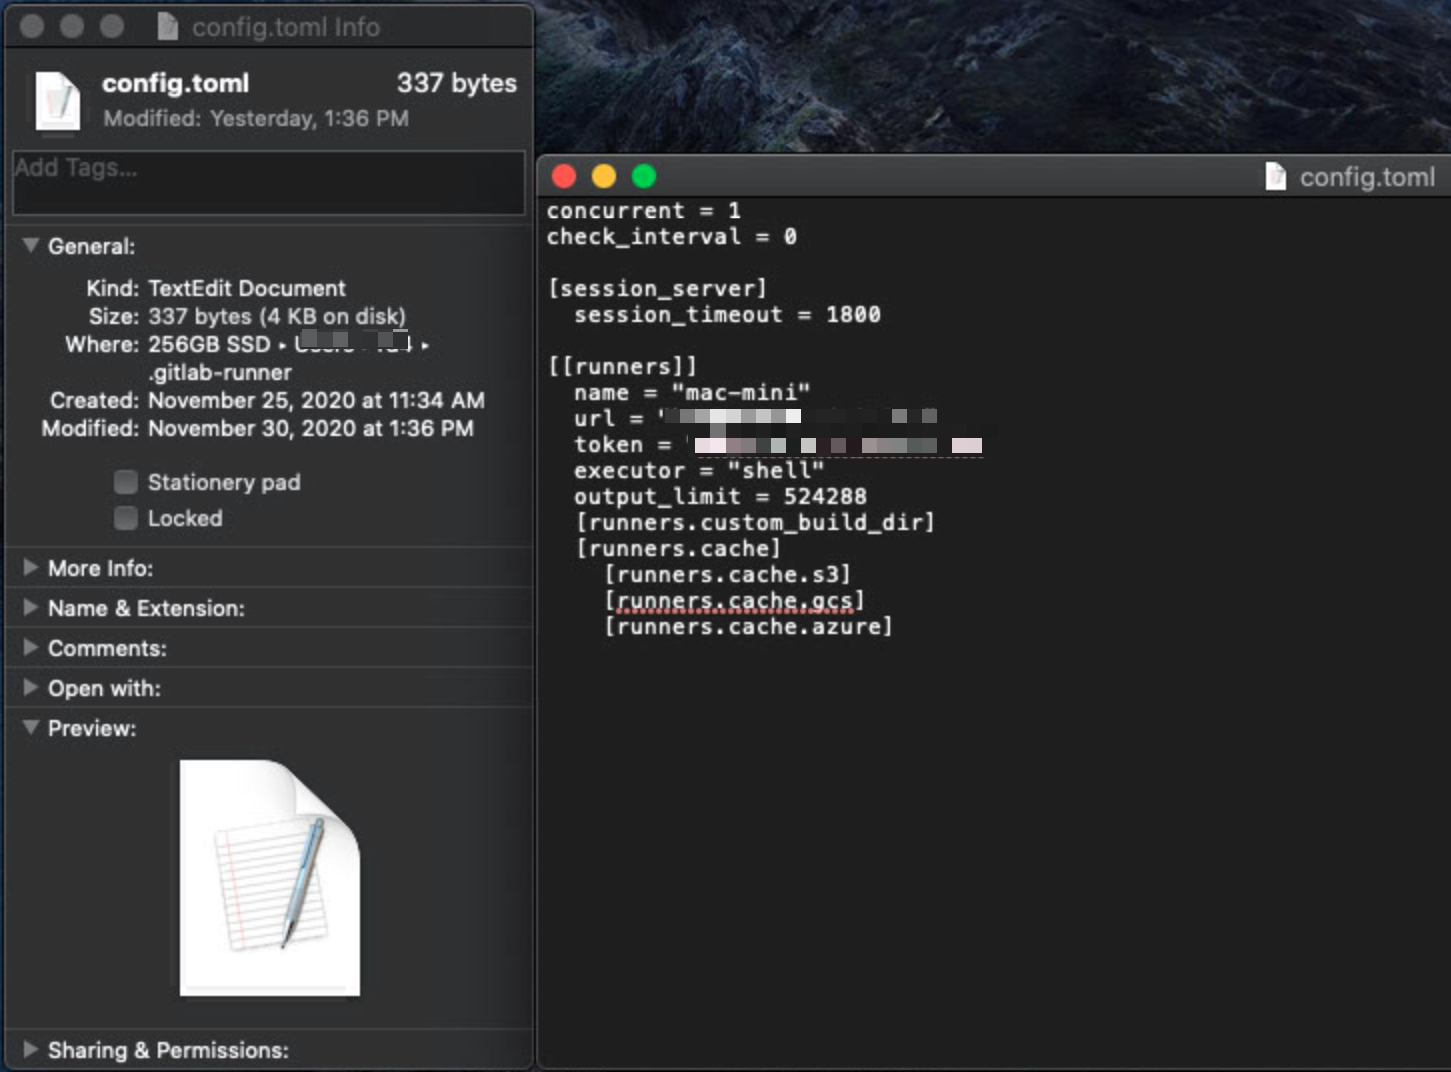
其他說明:
若使用Docker作為executor,需在
.gitlab-ci.yml內透過default image參數來設定platform若要修改以上參數可以至
.gitlab-runner/config.tlom修改
專案設定
設定.gitlab-ci.yml檔
-
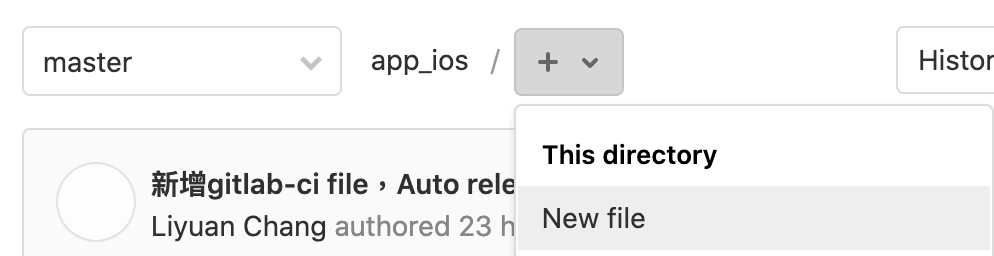
新增
.gitlab-ci.yml檔案 在gitlab上點選「Project overview > Details」,確認檔案的路徑與分支後,點選「+」,選擇「New file」
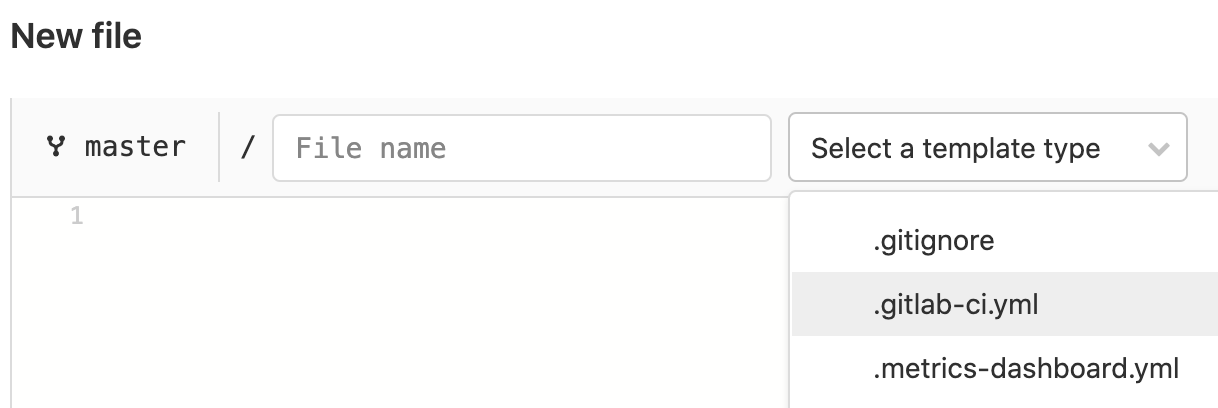
選擇「.gitlab-ci.yml」新增檔案
-
設定
.gitlab-ci.yml檔案內容
stages:
  - build
  - release

variables:
  LC_ALL: "en_US.UTF-8" # apparently xcpretty won't function correctly otherwise
  LANGUAGE: "en-US.UTF-8"
  LANG: "en-US.UTF-8"

before_script:
  - export LC_ALL=en_US.UTF-8
  - export LANGUAGE=en-US.UTF-8
  - export LANG=en-US.UTF-8
  - pod install
  - xcodebuild clean -workspace YOUR_PROJECT_NAME.xcworkspace -scheme YOUR_PROJECT_NAME -configuration Release -quiet

build_project:
  stage: build
  script:
  - xcodebuild -workspace YOUR_PROJECT_NAME.xcworkspace -scheme YOUR_PROJECT_NAME -configuration Release -quiet

  tags:
    - release

release_project:
  stage: release
  script:
  - xcodebuild archive -workspace YOUR_PROJECT_NAME.xcworkspace -scheme YOUR_PROJECT_NAME -configuration Release -archivePath archive/YOUR_PROJECT_NAME.xcarchive
  - xcodebuild -exportArchive -archivePath archive/YOUR_PROJECT_NAME.xcarchive -exportPath release -exportOptionsPlist ReleaseInfo/ExportOptions.plist
  - firebase appdistribution:distribute release/YOUR_PROJECT_NAME.ipa --app YOUR_APP_ID --release-notes-file "ReleaseInfo/release-notes.txt" --groups "YOUR_FIREBASE_TEST_GROUP_NAME" --token "YOUR_FIREBASE_API_TOKEN" --debug
  only:
    - master
  tags:
    - release
標籤說明:
stages:
設定CI流程階段,目前分為build和release階段
variables:
設定變數,此處用來設定編碼格式
before_script:
設置要執行每個Job之前會執行的指令,由於在執行Job之前,專案會被回覆成從Gitlab上clone下來的狀態,為了使後續的Job可以正常執行,須先進行一些前置作業,如:pod install、xcodebuild clean等
build_project & release_project :
Jobs的名稱,可設定stage、script 、only 、tags 等參數
stage:指定此Job是屬於哪個stages
script: 設定Job要執行的指令
only:指定分支名稱才可執行此Job
tags:指定此Job要執行在哪個Runner上
備註:
- 執行
xcodebuild -exportArchive指令前,必需先新增ExportOption.plist檔至專案中,詳情請見Xcodebuild Archive設置 script中firebase的指令需先在Runner的電腦上安裝Firebase CLI,啟用Firebase指令並取得token後才可正常執行,詳情請見Firebase CLI 安裝與取得Token
Xcodebuild Archive設置
-
xcodebuild archive指令:用於輸出.xcarchive檔,與Xcode內的Archive相同Demo
xcodebuild archive -workspace YOUR_PROJECT_NAME.xcworkspace -scheme YOUR_PROJECT_NAME -configuration Release -archivePath archive/YOUR_PROJECT_NAME.xcarchive參數說明
-workspace: 設定專案-scheme: 設定要建構的scheme-configuration:設定建構的方法,此時是使用Release-archuvePath:設定archive成功後,輸出.xcarchive檔的位置 -
xcodebuild -exportArchive指令:用於將.xcachive檔包裝成上架用的.ipa檔Demo
xcodebuild -exportArchive -archivePath archive/YOUR_PROJECT_NAME.xcarchive -exportPath release -exportOptionsPlist ReleaseInfo/ExportOptions.plist參數說明
-archivePath:設定讀取.xcarchive檔的位置-exportPath:設定輸出.ipa檔的位置-exportOptionsPlist:包裝成.ipa檔的一些基本資料,可透過Xcode自動產生產生`ExportOptions.plist` - 開啟專案並執行Archive
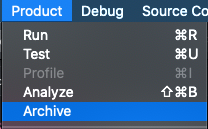
- 選擇
Distrubute APP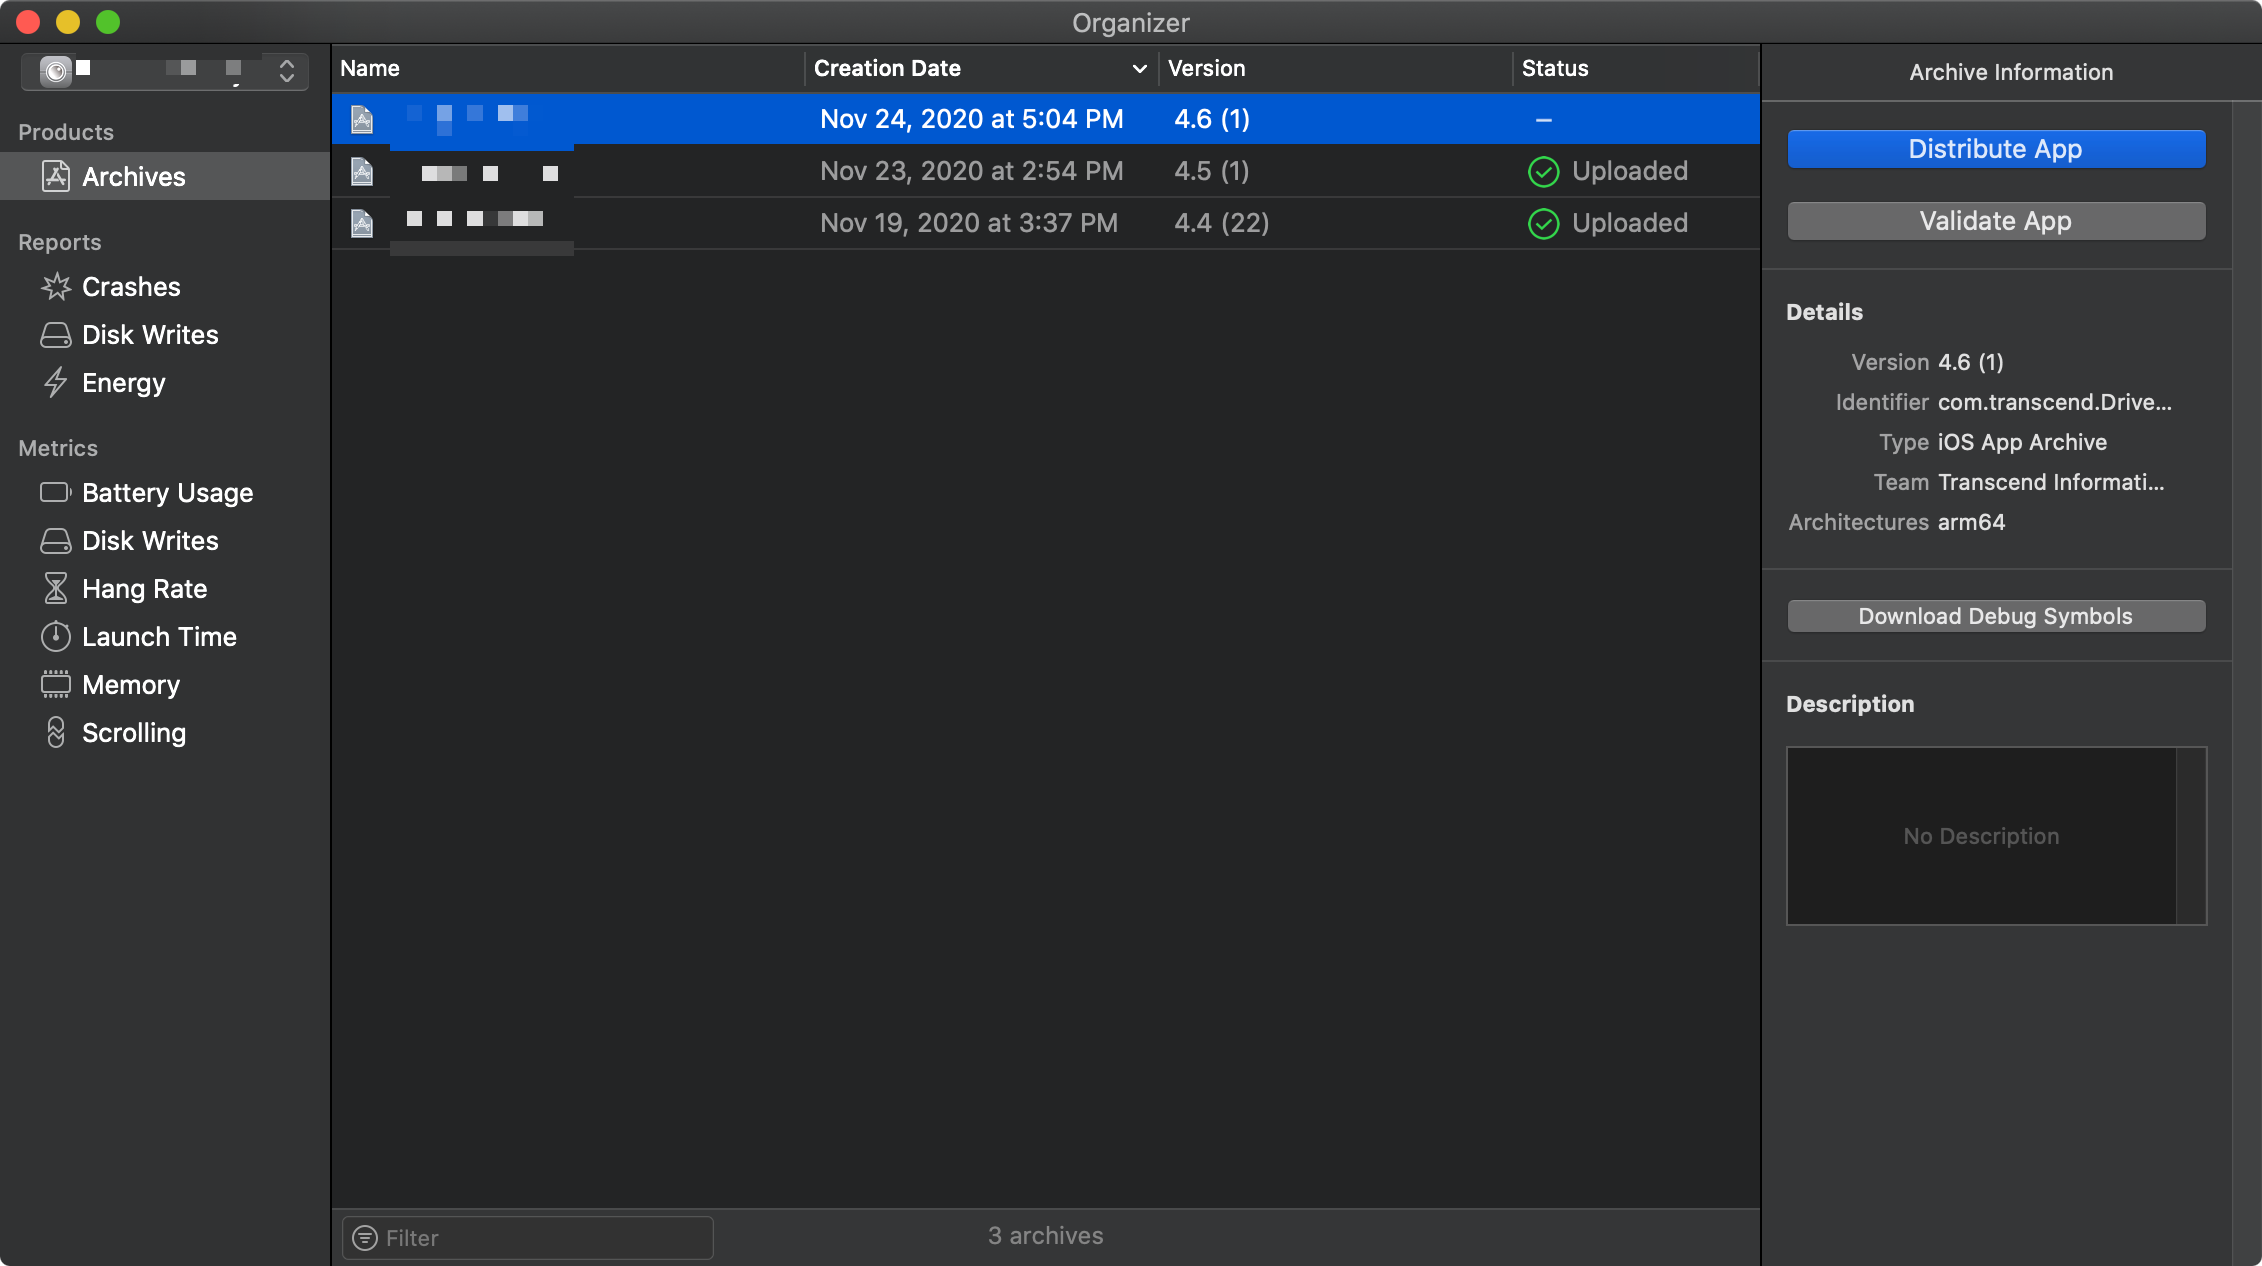
- 選擇
Development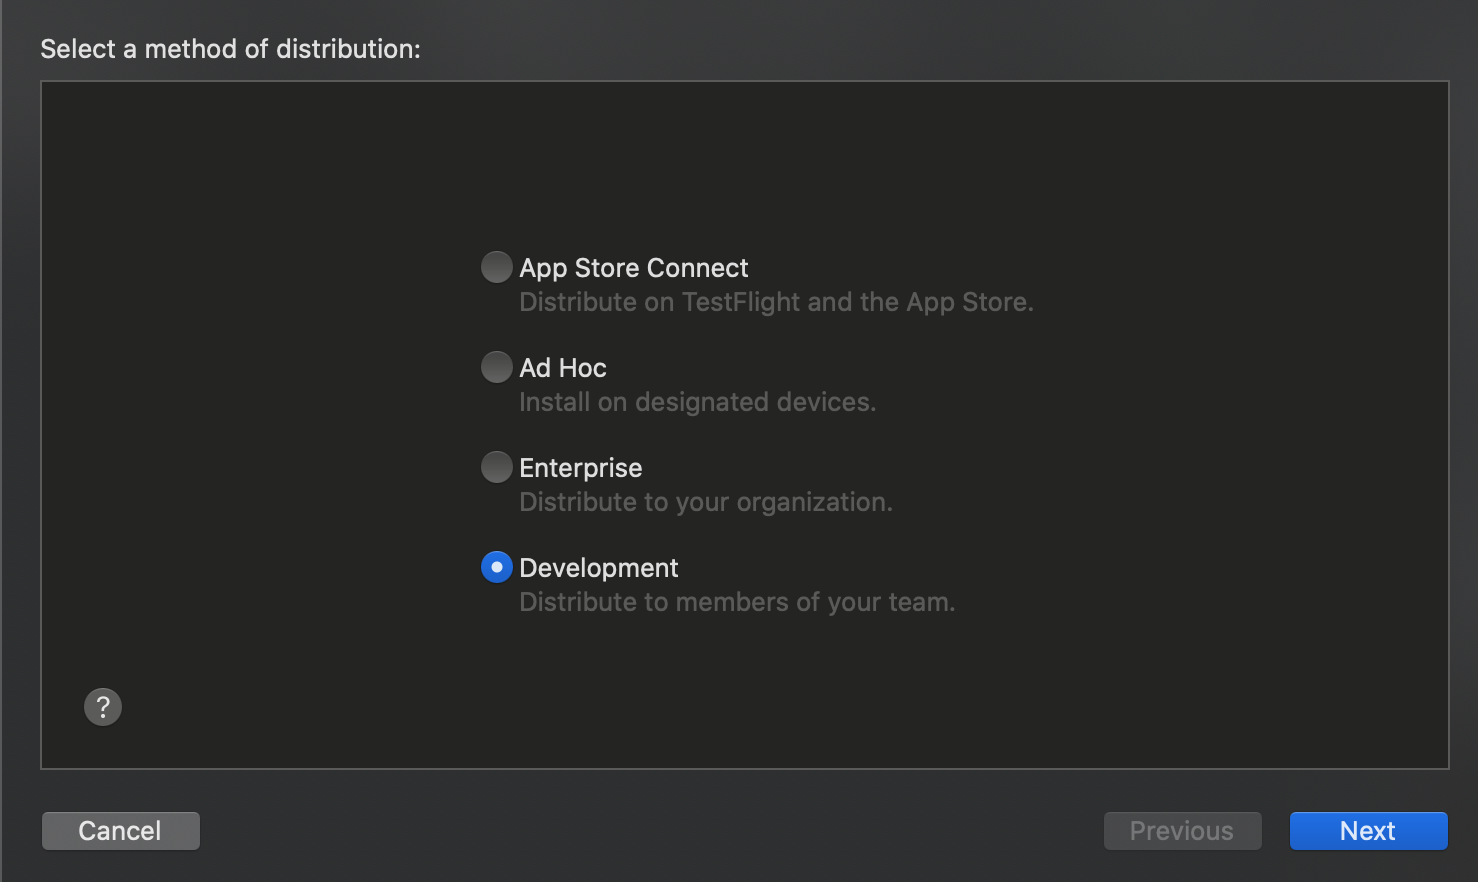
- 設定
Development的描述選項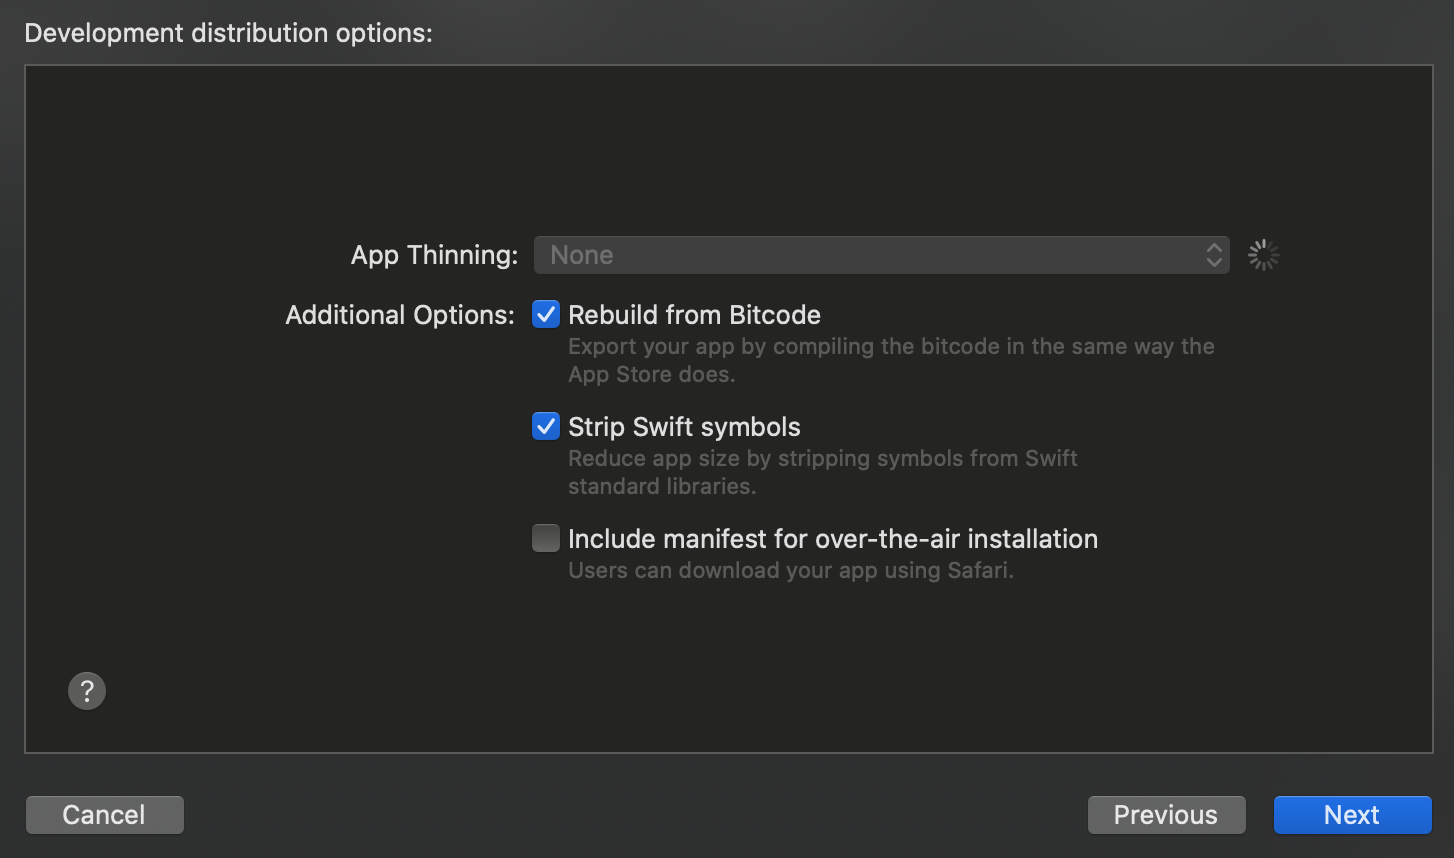
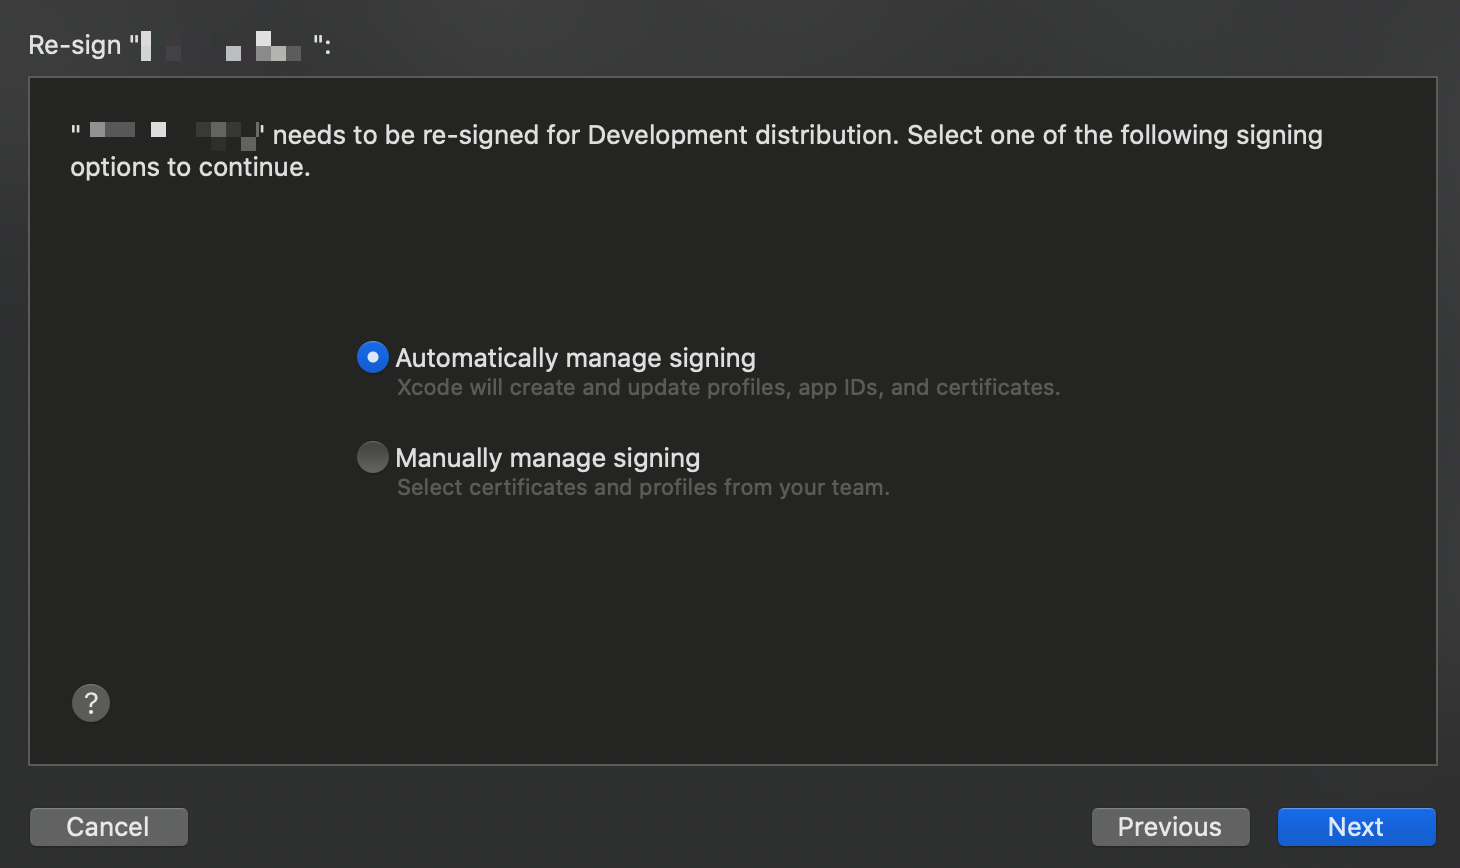
- 自動簽署
- 輸出
.ipa檔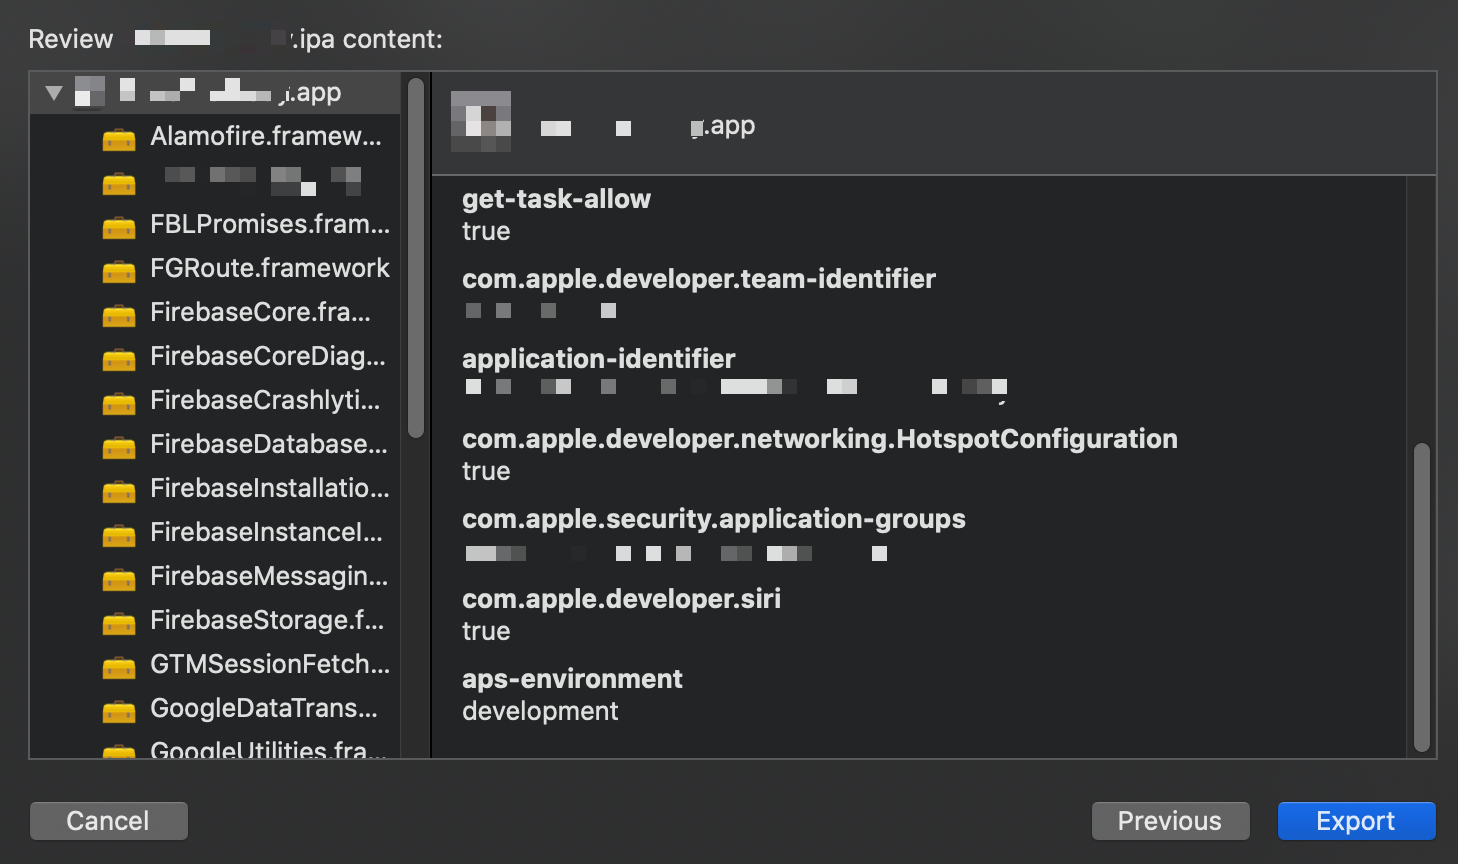
- 開啟輸出資料夾,即可發現
ExportOptions.plist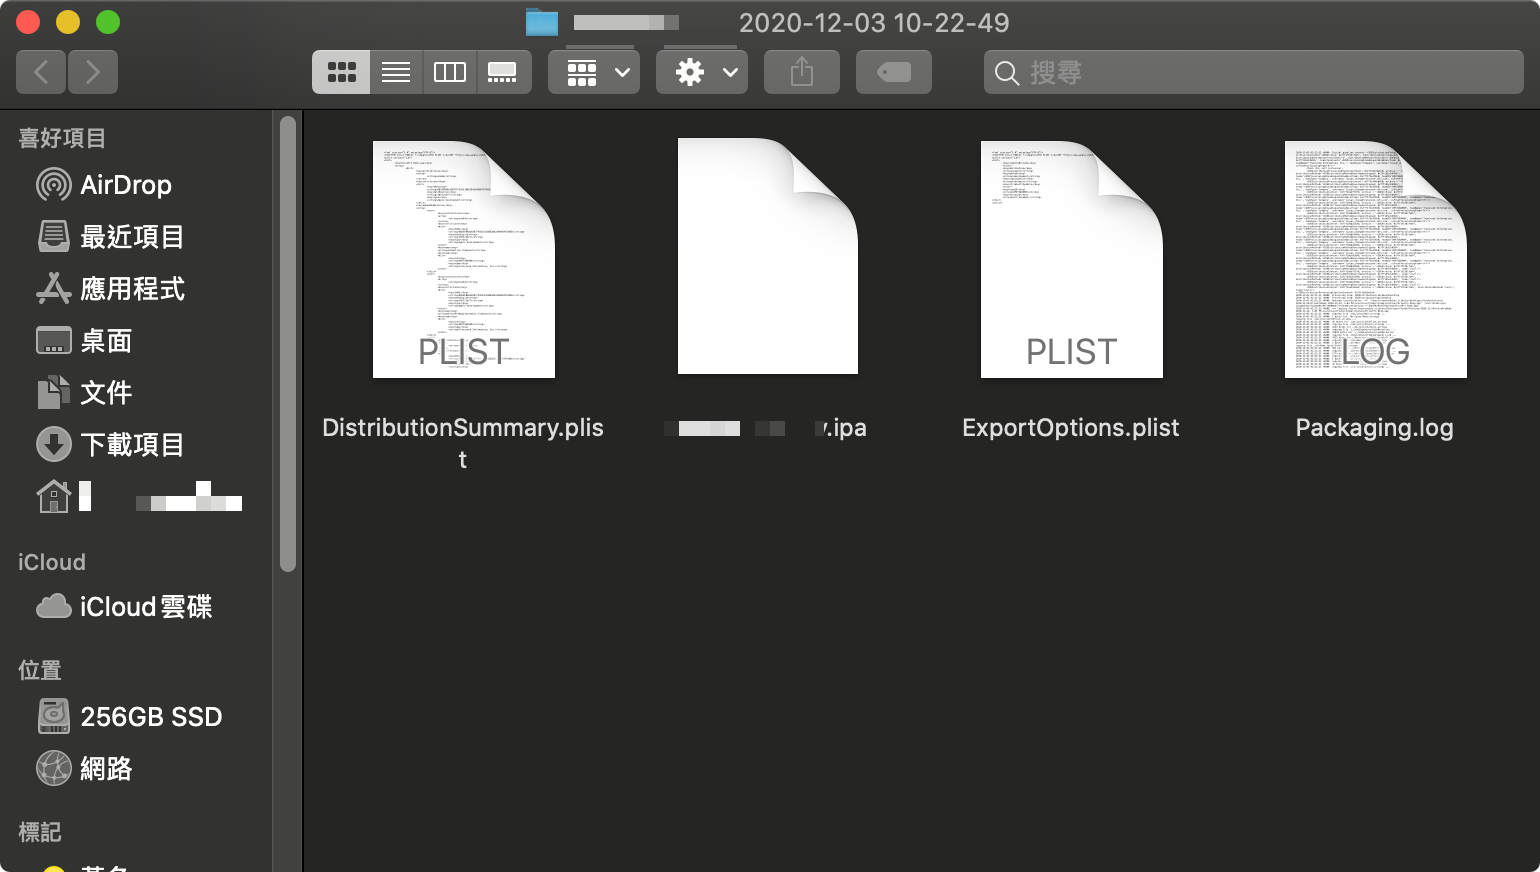
- 開啟專案並執行Archive
Firebase CLI 安裝與取得Token
安裝
執行以下指令安裝Firebase CLI
curl -sL https://firebase.tools | bash
登入並取得Token
輸入以下指令進行登入
firebase login:ci
輸入完成會自動開啟瀏覽器,進入Google登入畫面
登入完成後,關閉瀏覽器,終端機畫面上會顯示Firebase CI所使用的Token
紀錄Token,使用Firebase指令時,透過 –token “ Token “ 來設置
使用指令發布至Firebase App Distribution
-
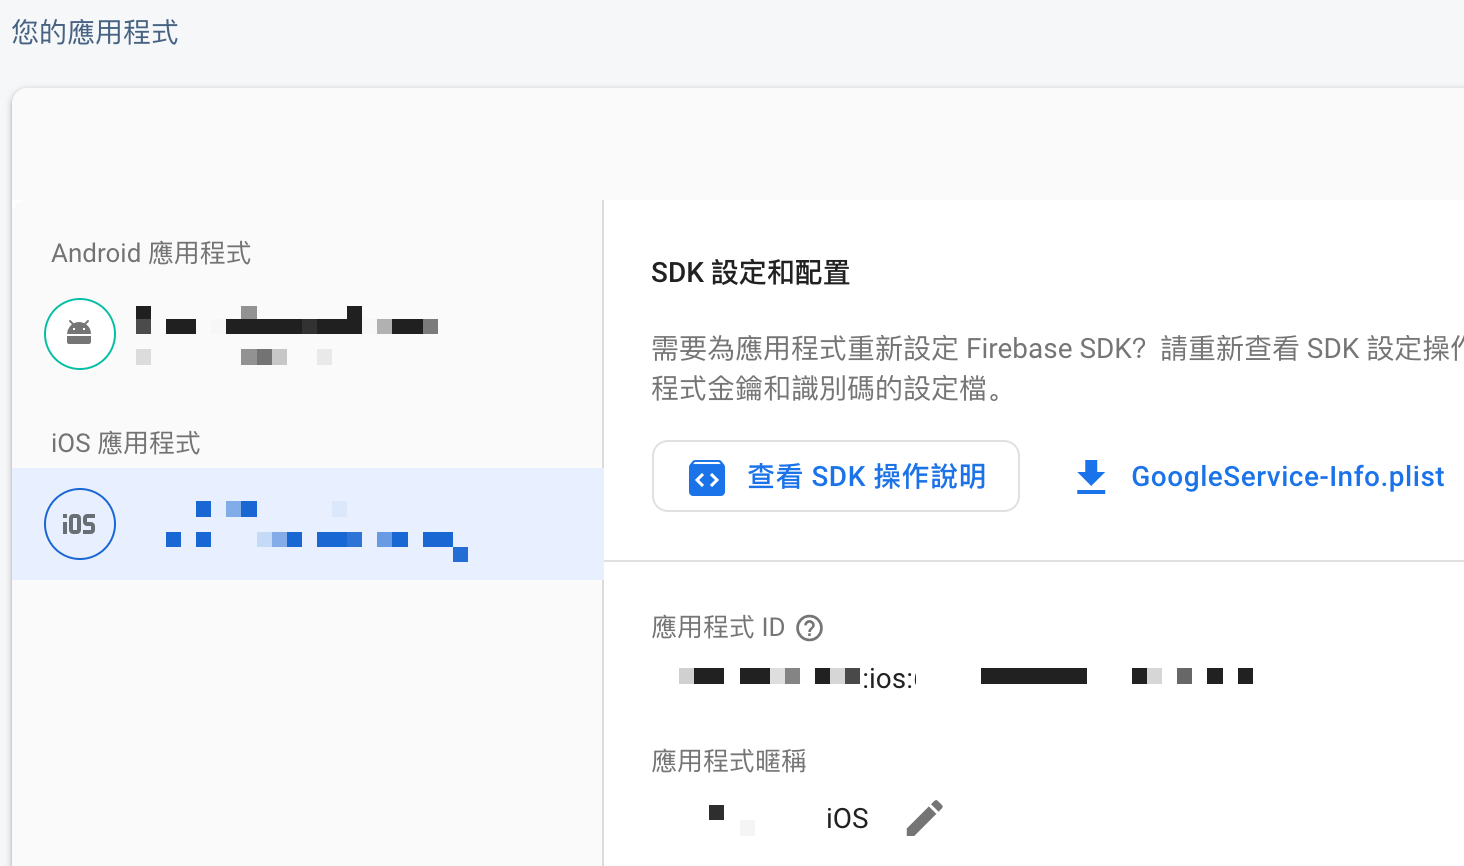
取得`App ID`:
開啟Firebase Console,點擊左上角「齒輪」進入「專案設定」
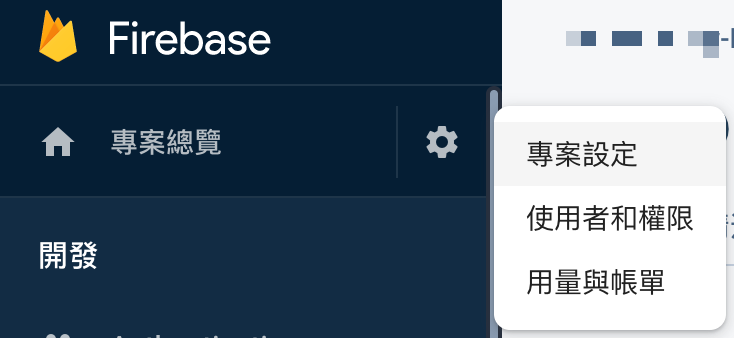
選擇指定的應用程式,即可看到應用程式ID
-
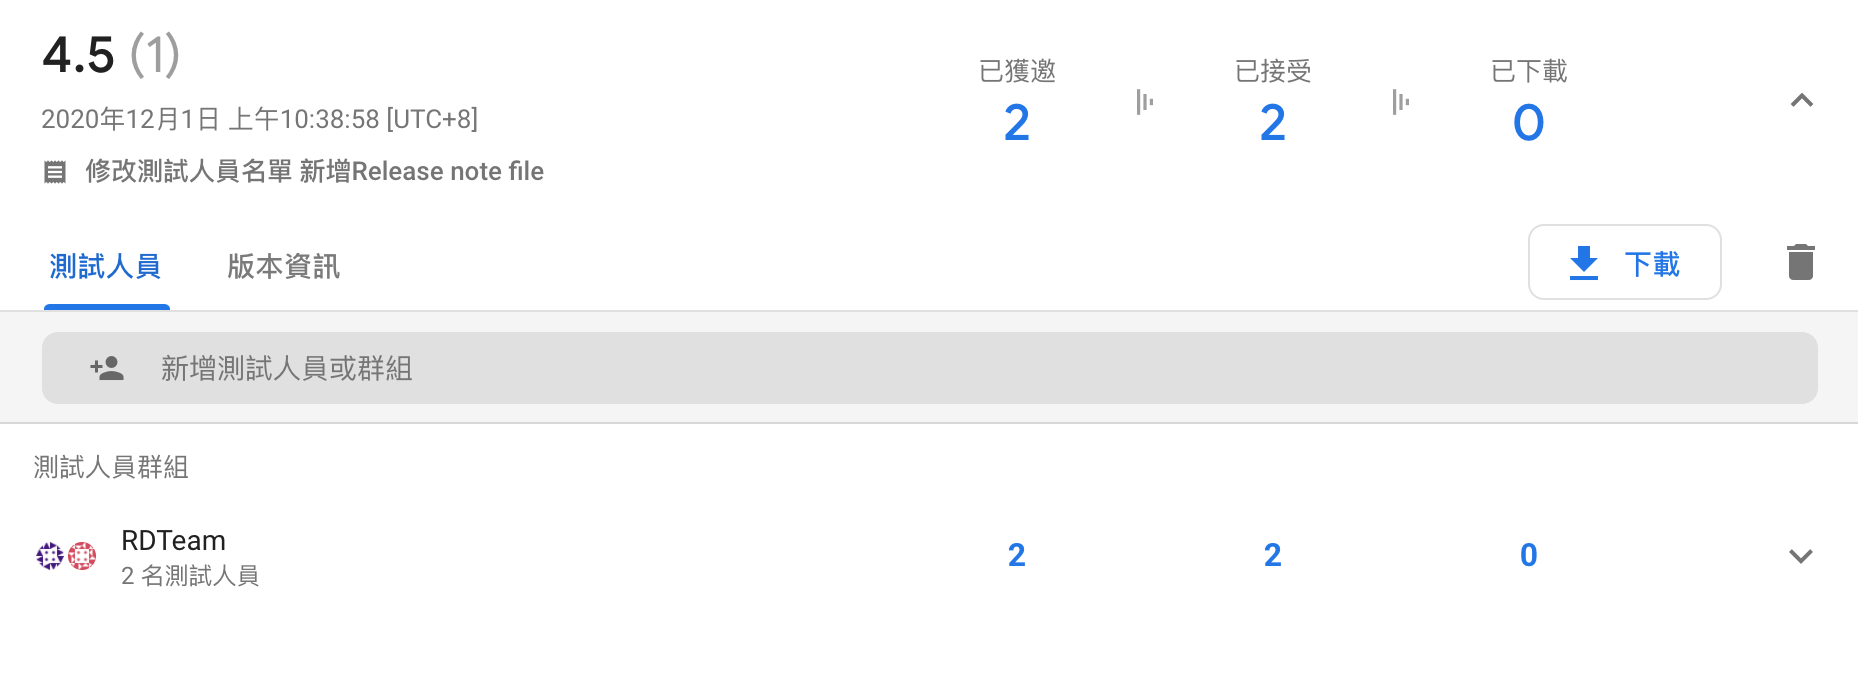
設置測試群組:
進入Firebase App Distribution頁面
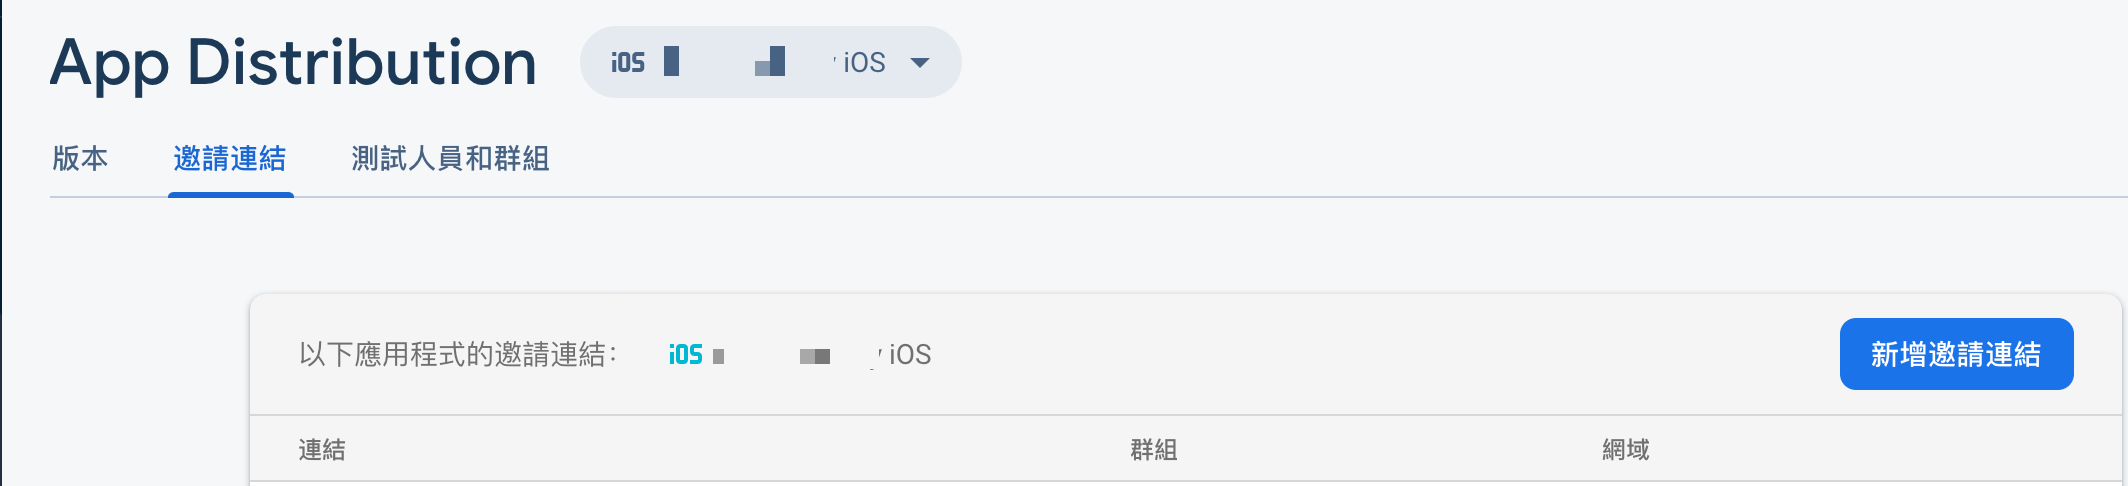
點擊 邀請連結 的功能分頁,新增邀請連結,並將新增的連結分享給測試人員
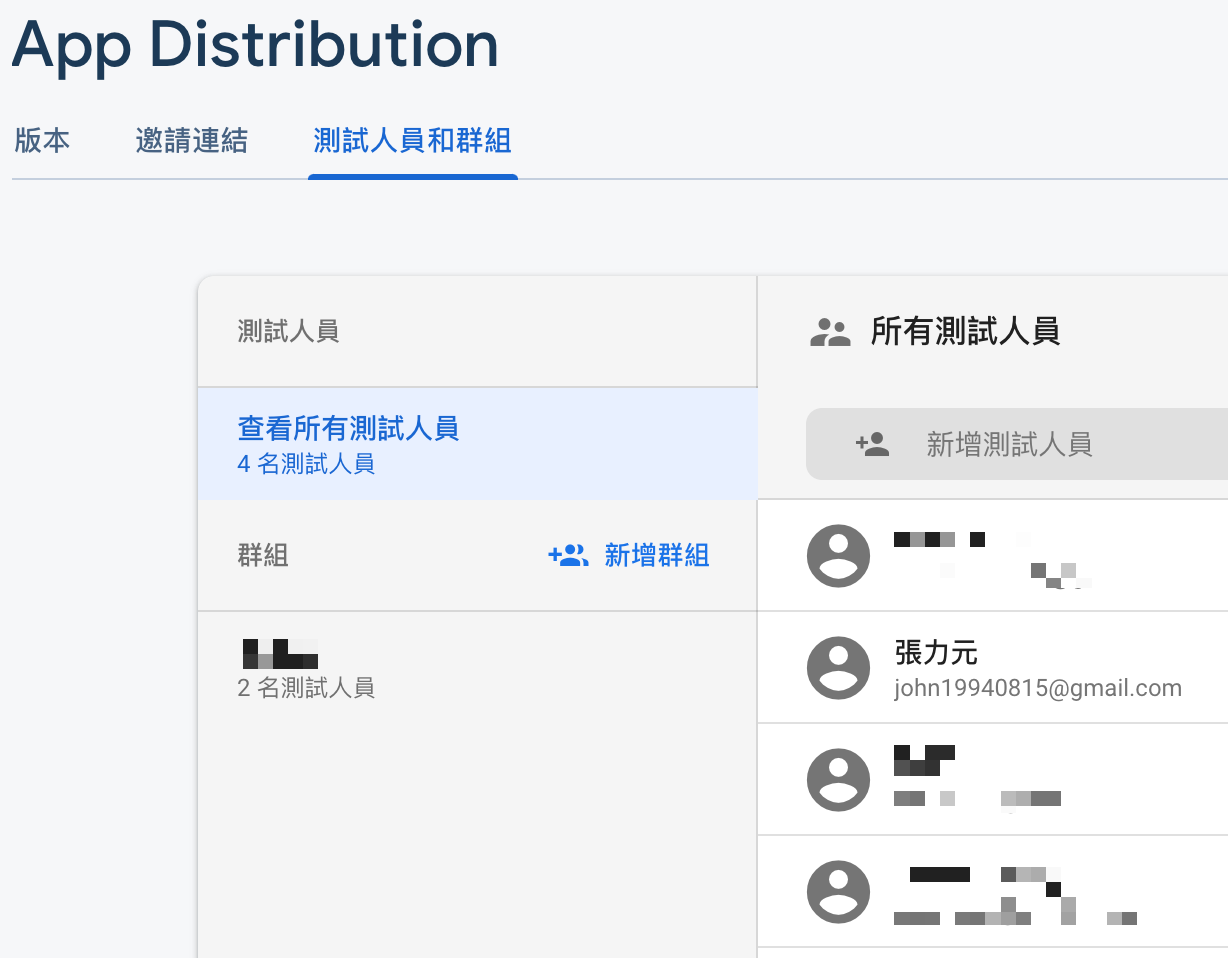
測試人員同意邀請後,即可在測試人員和群組的功能分頁中看到,並可以透過新增群組功能將指定的人員分配至指定群組中
-
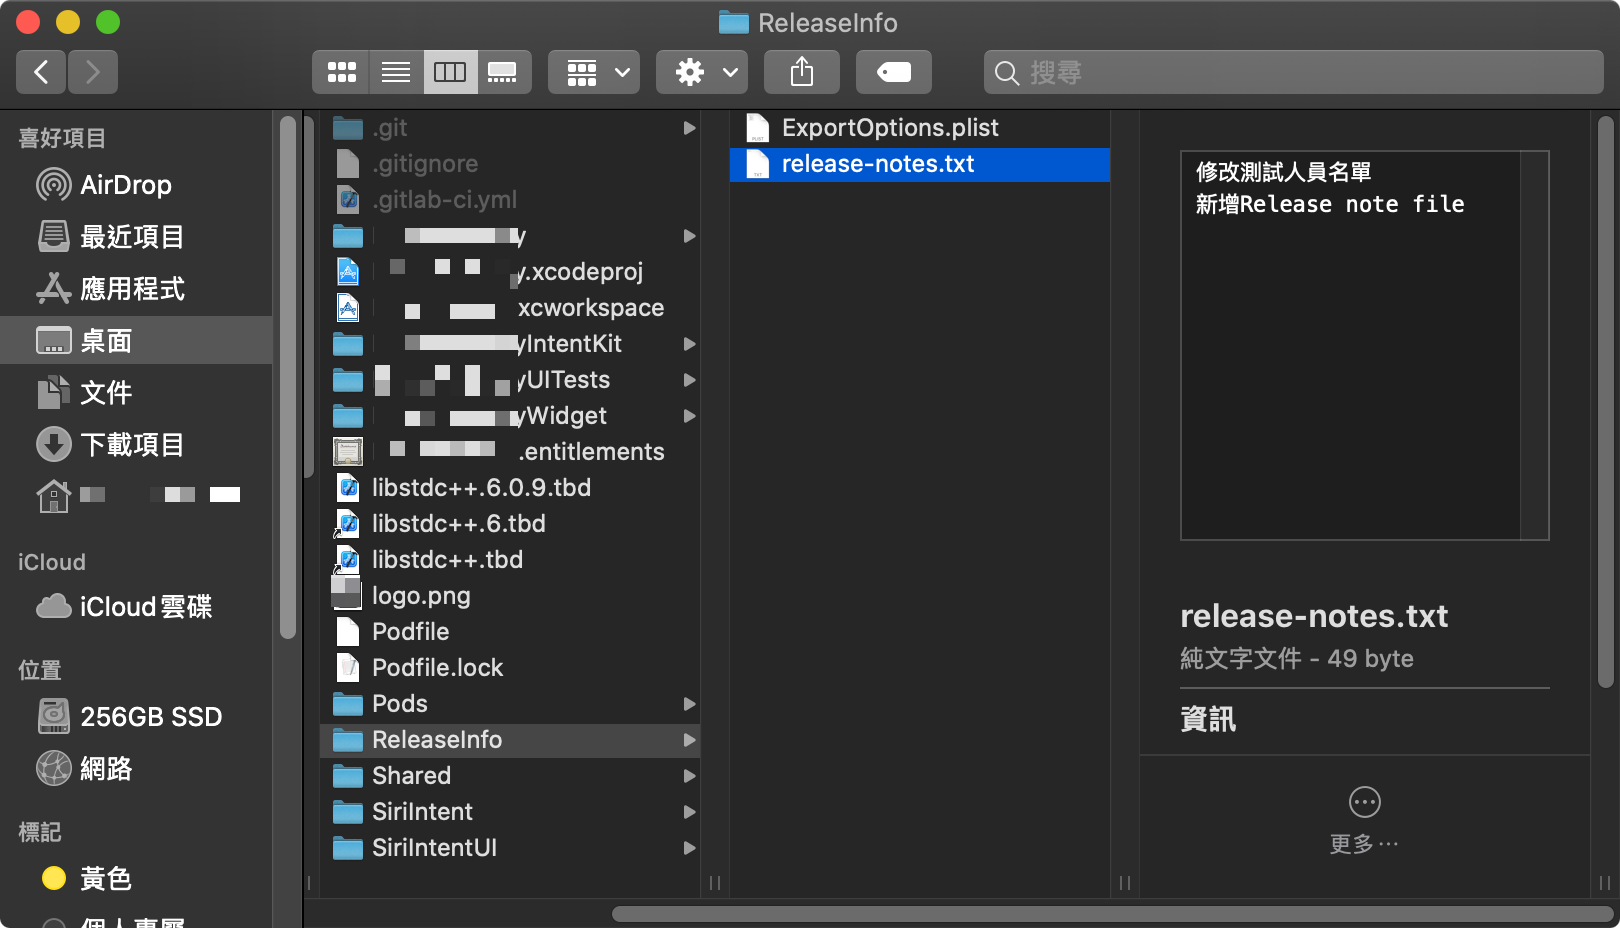
設置Release note:
於專案目錄中新增一個
txt檔,並於檔案內輸入要顯示的Release note
-
使用指令上傳`.ipa`至App Distribution
Demo
firebase appdistribution:distribute release/YOUR_PROJECT_NAME.ipa --app YOUR_APP_ID --release-notes-file "ReleaseInfo/release-notes.txt" --groups "YOUR_FIREBASE_TEST_GROUP_NAME" --token "YOUR_FIREBASE_API_TOKEN" --debug參數說明
--app:輸入取得的 APP ID--groups:輸入設定的 測試群組 名稱,也可以透過--groups-file參數,讀取指定的.txt檔--release-notes-file:輸入 Release note的路徑 ,也可以透過--release-notes直接輸入--token:輸入取得的 Token--debug:將指令執行結果紀錄至log file內,log file會自動於根目錄產生--testers&--testers-file:可以直接設定測試人員的Email,或將測試人員的Email輸入至.txt檔中
執行結果
Job執行成功

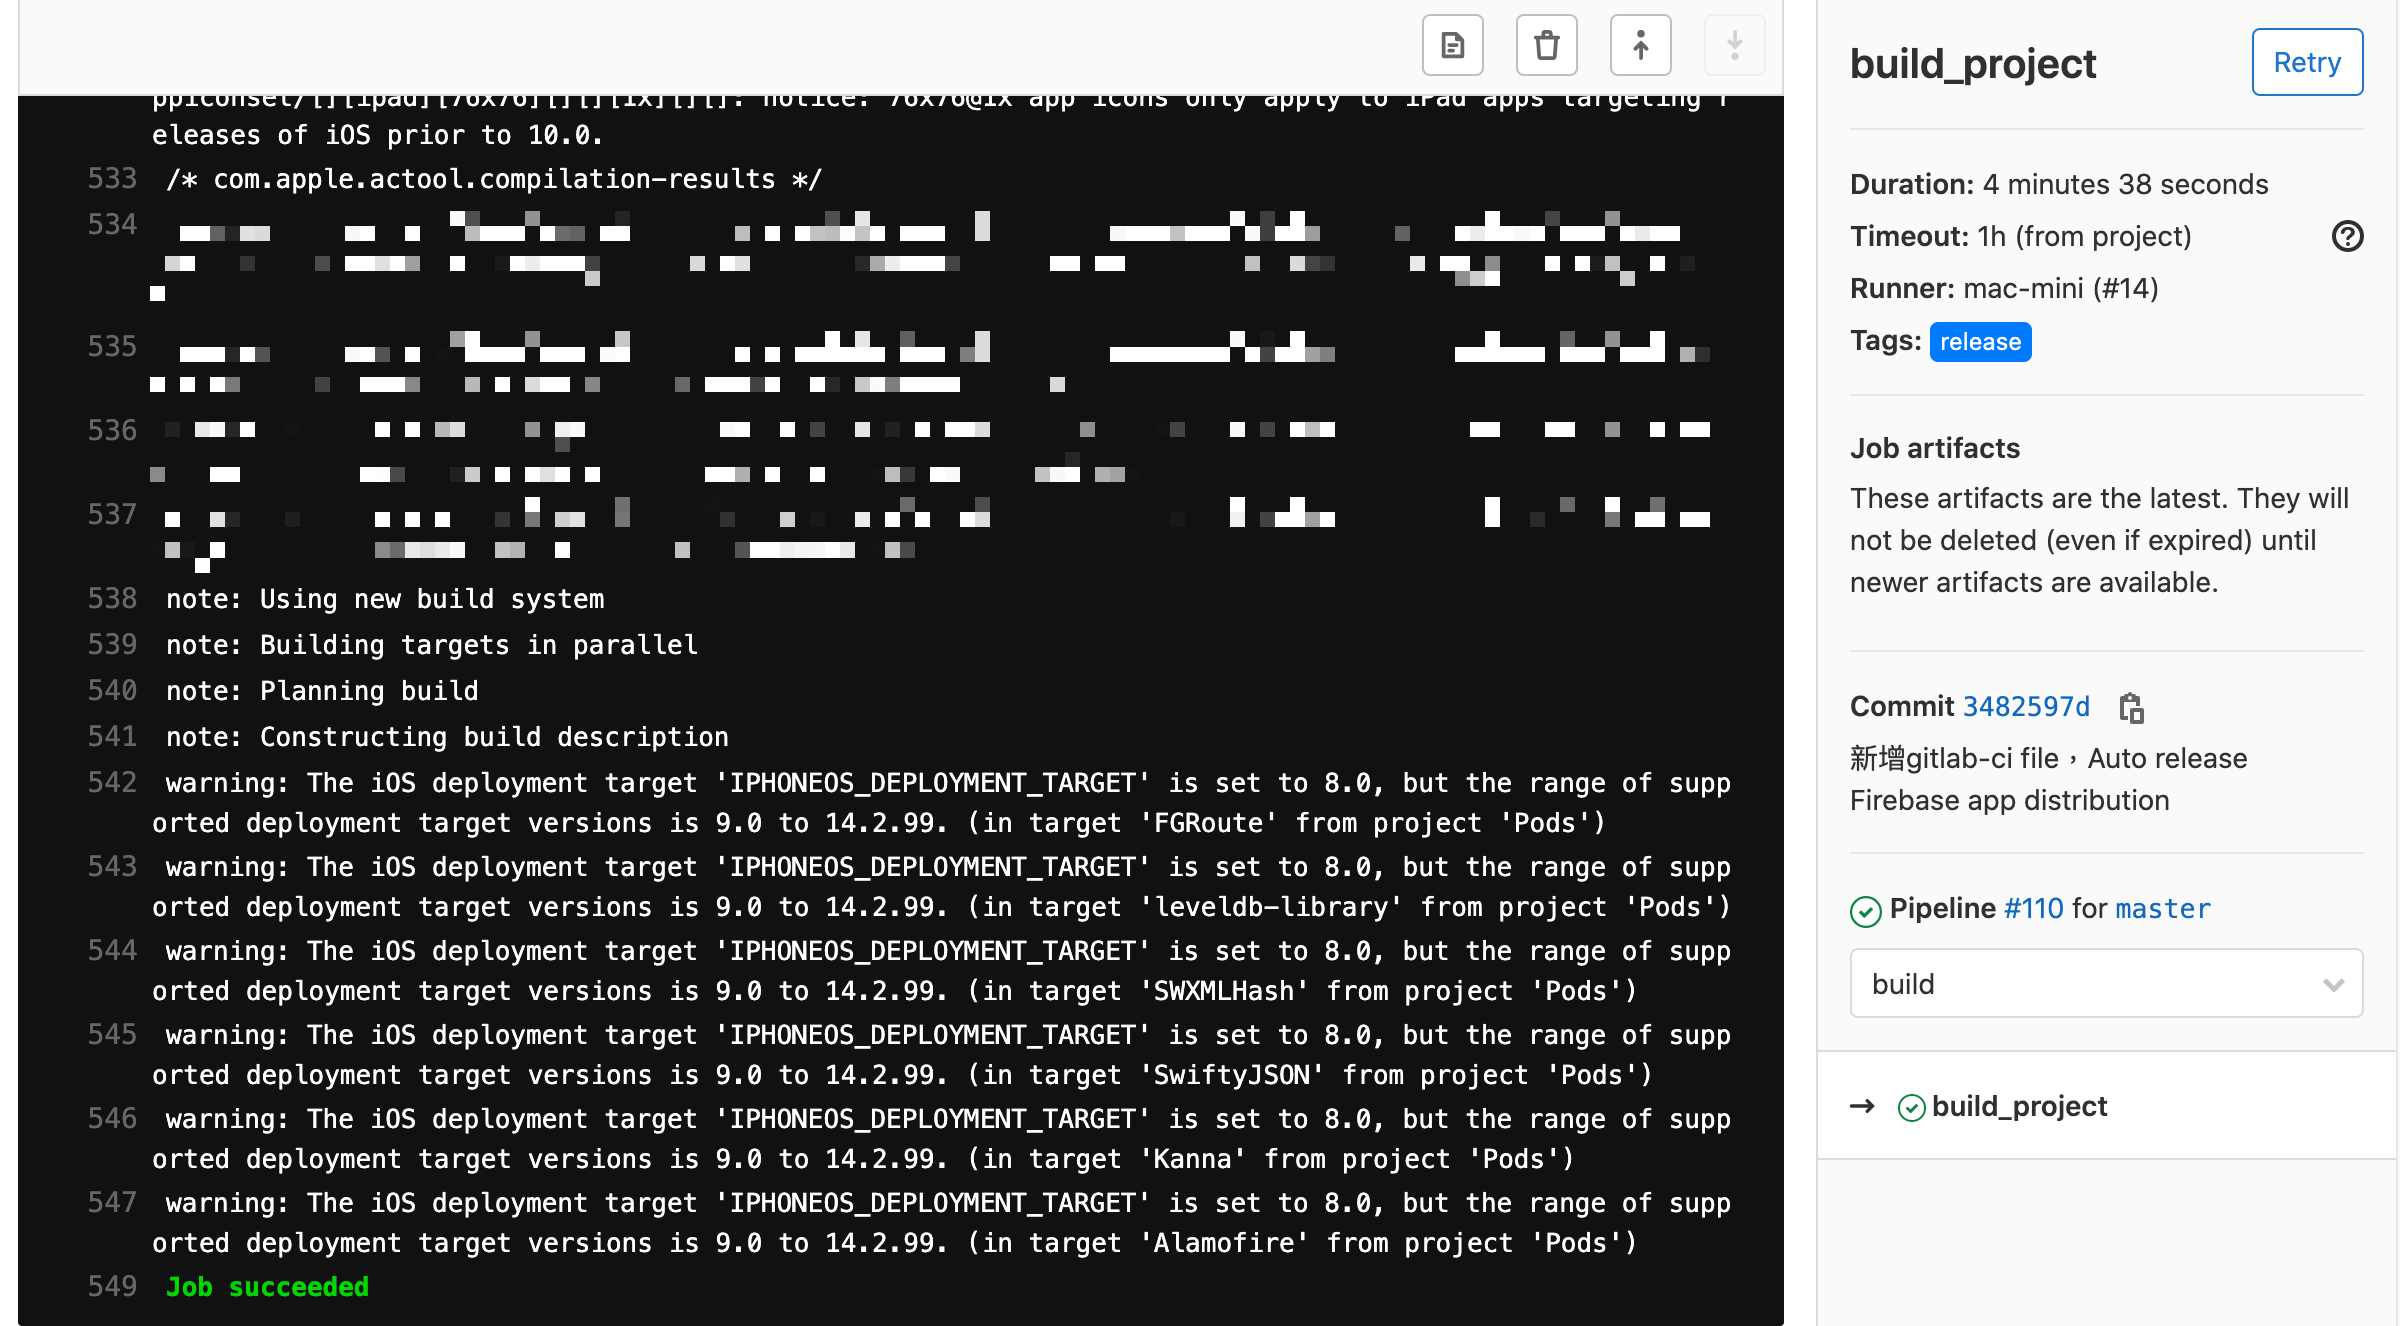
成功上傳至Firebase App Distribution